Services / Guided Wave Inspection
Advanced Non-Destructive Services
Advanced Non-Destructive Testing
Non- Destructive Testing (NDT)
Remote Visual Inspection
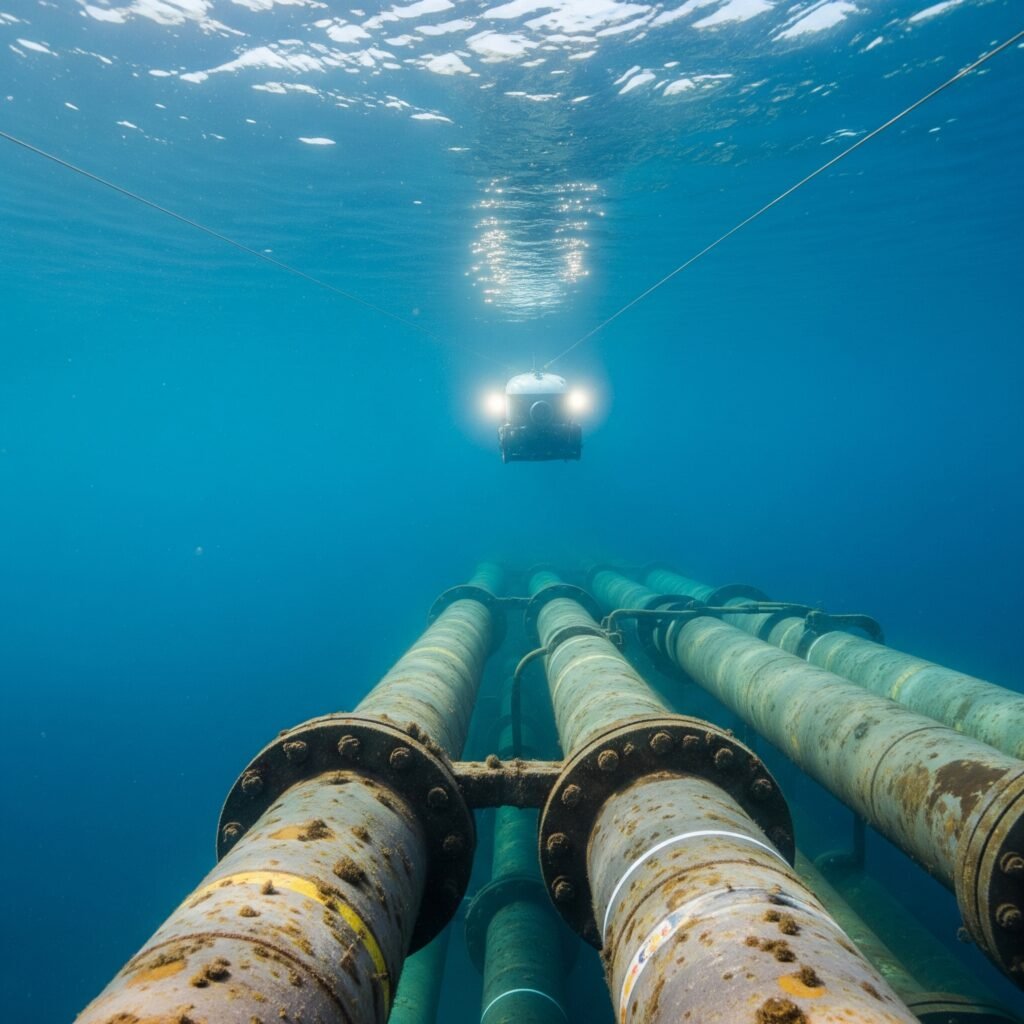
Remote visual inspection is a non-destructive testing technique that employs the use of remotely operated cameras and crawlers to assess the integrity of components and infrastructure in areas that are too dangerous or remote for direct human intervention. Tubes and Pipeline ranging from ½ inch and above can be inspected with our modern borescope camera well up to 50 meters of length.
Remote Field Testing
RFT is considered the ideal method of examining carbon and alloy steel tubing with recent probe technology and software measurement tools. Although RFT doesn’t differentiate between ID & OD defects, its sizing capabilities of both localised and general wall loss has been greatly increased due to the application of the voltage plane technique, which also give a very precise approximation of the extent of the wall losses around the circumference of the tubing. Like Eddy Current Tube Inspection, RFT is commonly used as a standalone method.

Eddy Current Tube Inspection
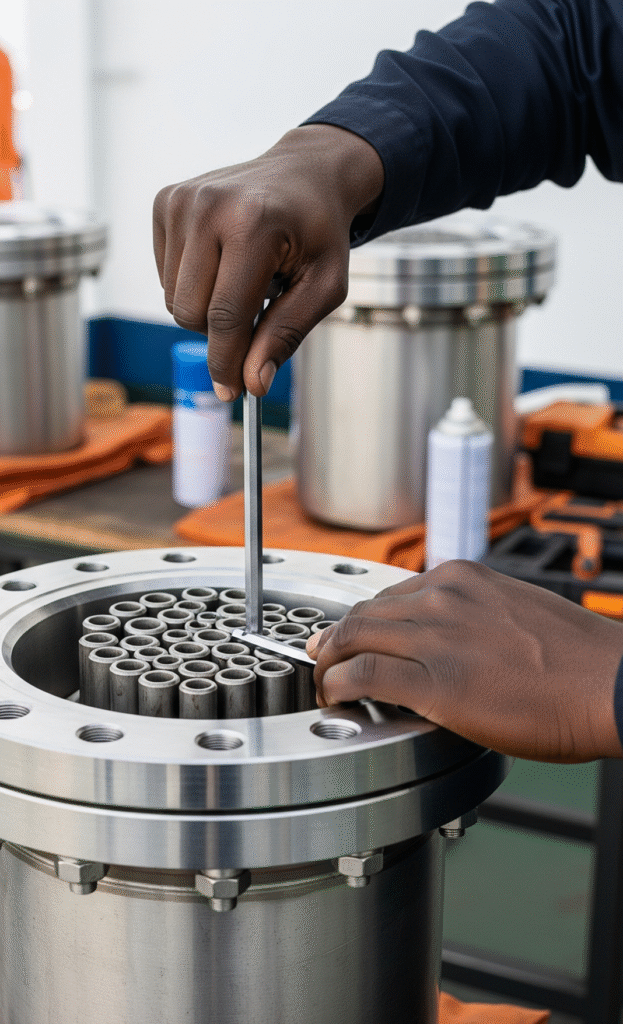
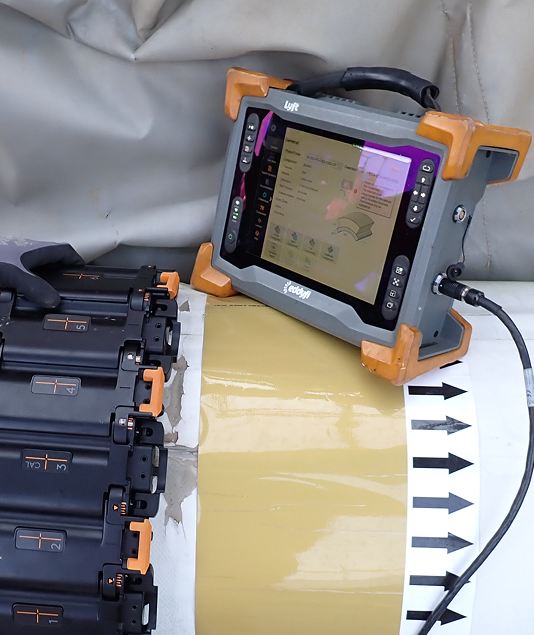
Eddy Current Testing (ECT) is the best way of inspecting tubing made of non-ferrous materials such as austenitic stainless steel, brass, titanium, copper etc. Eddy Current Testing (ECT) is based on the use of a probe made of a single coil in which, an alternating current is sent. This generates a circular magnetic field around the coil which then induces eddy currents of the opposite direction into the pipe wall. Discontinuities or loss of wall thickness alter the eddy current flow which translates into a change of impedance in the coil. This can be visualized by the operator giving the indication of a potential flaw.
Internal Rotary Inspection System (IRIS)
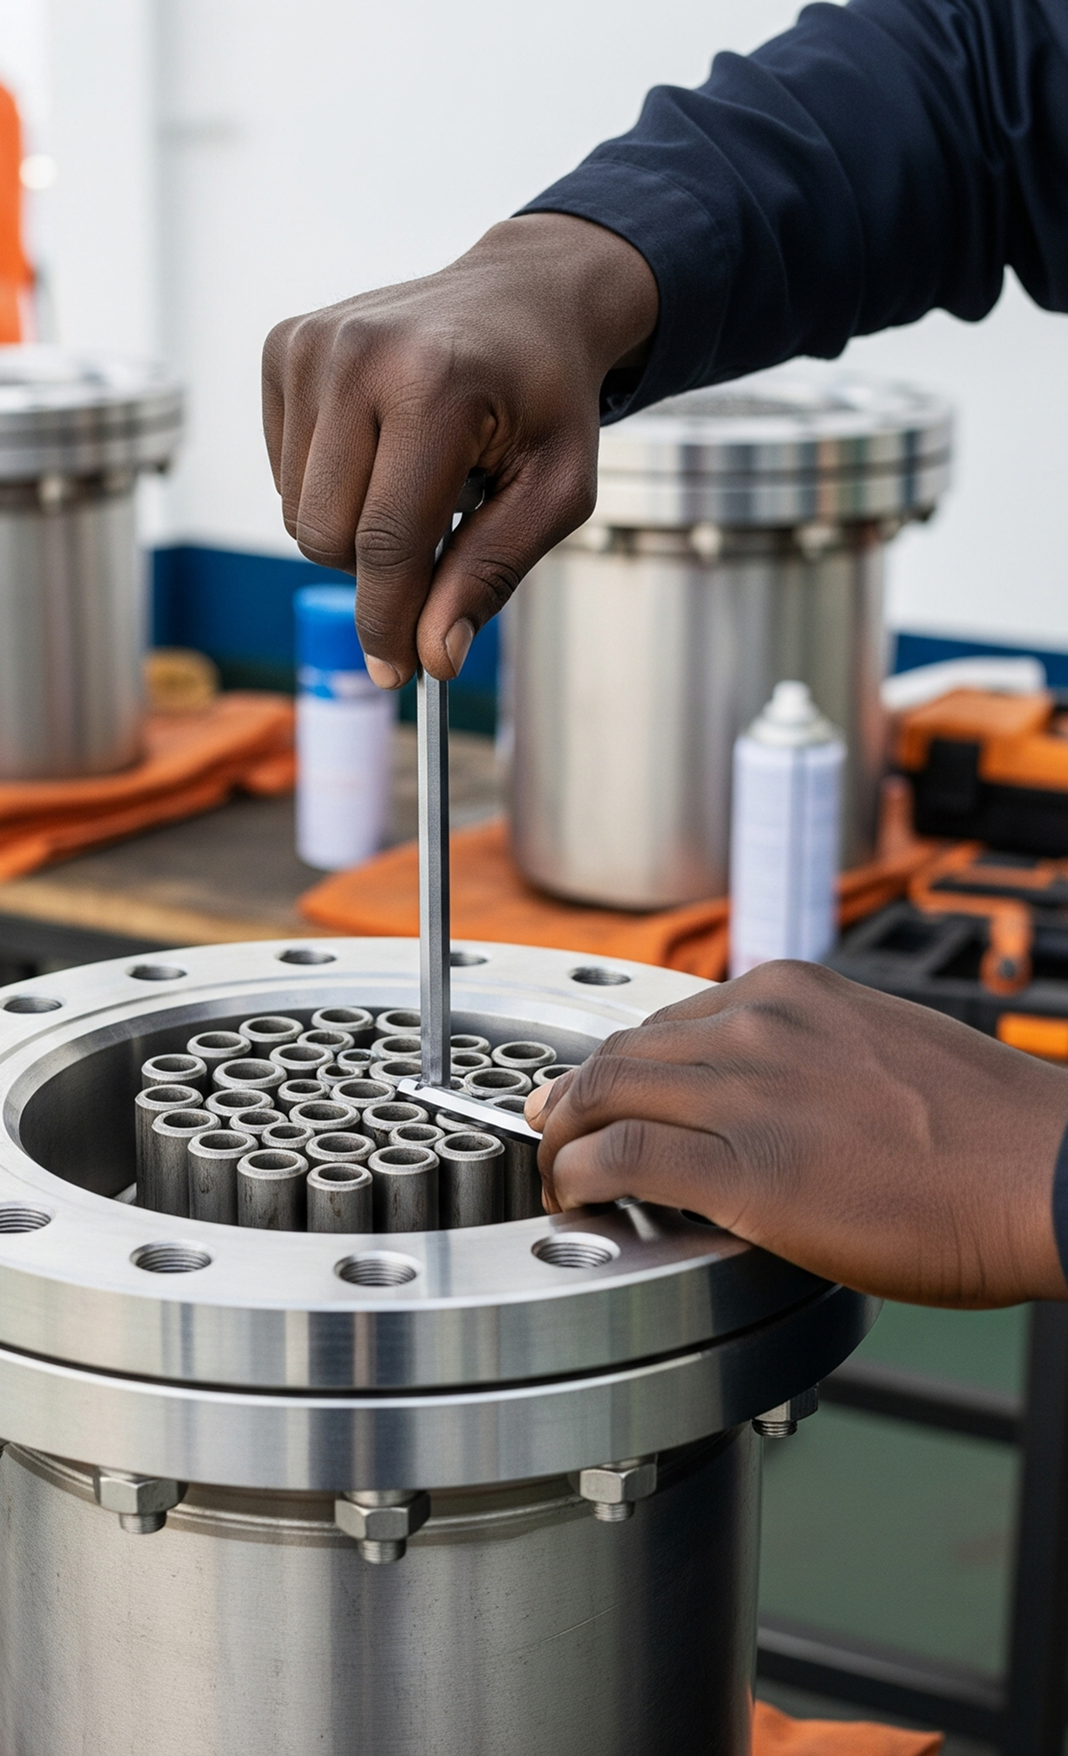
Internal Rotary Inspection System (IRIS) is used for inspection of tubes of heat exchangers and steam generators. The system displays circumferential cross section of tubes (wall thickness of tubes) at any given axial position and reveals both uniform and localized (pitting) corrosion. Based on the ultrasonic immersion testing principle. Ultrasonic sound wave is generated from a concave probe and transmitted into the 45° mirror mounted in a turbine, which reflect the sound wave to the tube wall. Pressurized water is being used as couplant and rotates the turbine. While the turbine rotates, it collects data around the 360° circumference of the tube. Measures exact remaining wall thickness and online C-Scan presentation. IRIS is a relatively slow technique but gives a high level of accuracy particularly when measuring ID/OD wall loss. Although bends cannot be examined by IRIS it is commonly used for tube examinations as both the primary and prove-up inspection technique.
